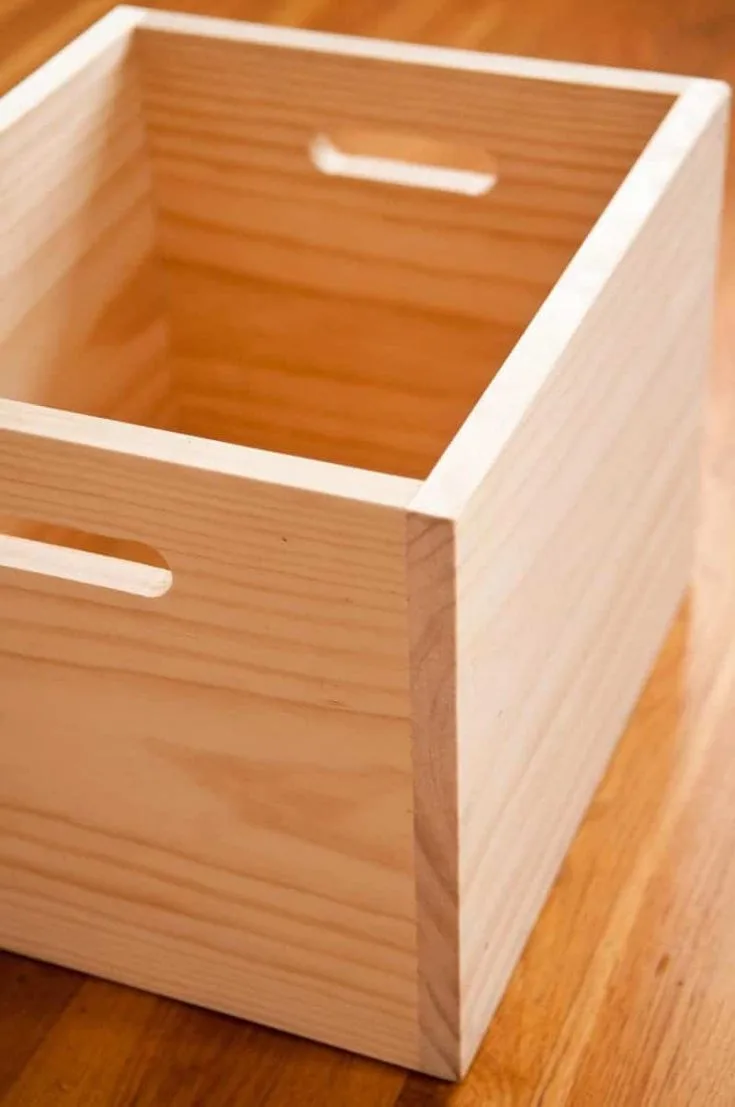
Hey there, fellow woodworkers! Ready to add some magic to your next project? Today, we're diving into the world of DIY magic boxes.
These little beauties are more than just a decorative piece; they're a gateway to endless possibilities! Imagine a box that seemingly produces endless scarves, a box that reveals hidden treasures, or even a box that magically changes its appearance!
Now, before we start conjuring up spells and potions, let's break down the process into simple steps:
Step 1: The Big Picture â€" Choosing Your Magic
First things first, we need to decide on the magic we're going to perform!
The Classic "Vanishing" Box: This is the most basic type. You'll create a box that appears to have a secret compartment, making objects vanish and reappear. Think about how you want this to work. Will you have a sliding panel, a hidden drawer, or maybe even a secret door?
The "Endless" Box: This one is a real crowd-pleaser. You'll create a box that seemingly produces an endless stream of items, like scarves, flags, or even playing cards. Imagine the look on people's faces when they can't fathom how the box keeps producing new things!
The "Transforming" Box: Get creative with this one! You could design a box that magically changes its appearance, revealing a different pattern, color, or even a completely new design. This one might involve a bit more intricate crafting, but the reward is worth it!
Step 2: Gathering Your Supplies
Now, it's time to gather your tools and materials. Here's a basic list:
Wood: Choose a wood that's sturdy and easy to work with. Pine, plywood, and hardwood like maple or cherry are all excellent options.
Saw: A hand saw, jigsaw, or circular saw will be your best friend for cutting the wood.
Measuring Tape and Pencil: These are essential for making accurate cuts and ensuring everything lines up perfectly.
Screwdriver: You'll need this to secure the box's components.
Wood Glue: Strong wood glue will ensure your box stays together.
Sandpaper: Smooth those edges and give your box a professional finish.
Paint or Stain: Time to give your box a personality! Choose a paint or stain that reflects the magic you want to create.
Hardware: Depending on your chosen magic, you'll need hinges, magnets, or even small gears and pulleys.
Step 3: Building the Box
Alright, let's get those hands dirty and start building!
Planning the Design: Draw a plan of your box on paper, including the dimensions and any special features like secret compartments, doors, or drawers.
Cutting the Wood: Using your saw, carefully cut the wood according to your design. Remember, precise cuts are key to making a smooth and functional box.
Assembling the Box: Glue and screw the pieces together, making sure they fit snugly and securely. Let the glue dry completely before moving on to the next step.
Adding Special Features: Now it's time to install those secret compartments, hinges, or other magical components. Pay close attention to your design and make sure everything is in the right place and secured properly.
Step 4: The Magic Touch
With the box assembled, it's time to add that touch of magic.
Sanding and Finishing: Sand the surface of your box smooth and remove any sharp edges. Then, apply your chosen paint or stain. You could even add decorative details like stencils, patterns, or even a coat of varnish for extra shine.
Incorporating the Magic: This is where your creativity really shines! For a vanishing box, you might design a sliding panel that reveals a hidden space. For an endless box, you'll need a mechanism to release objects, perhaps a system of pulleys or a rotating compartment. For a transforming box, maybe you'll use a hidden latch that flips the box inside out, revealing a different side.
Step 5: The Big Reveal
It's time to reveal your masterpiece to the world!
Practicing the Trick: Take some time to practice your chosen magic trick. You want to make it smooth and believable.
Showmanship: The magic isn't just in the box; it's also in the way you present it. Use your voice, facial expressions, and gestures to add to the wonder.
Enjoy the Magic: The best part of building a magic box is seeing the amazement on people's faces.
Extra Tips for Building a Great Magic Box:
Keep it Simple: Start with a basic design and gradually add more complex features as you gain confidence.
Don't be Afraid to Experiment: Try different techniques, materials, and designs. The possibilities are endless!
Have Fun! Woodworking should be enjoyable, so let your imagination run wild and create something truly magical!
Remember, building a magic box is about more than just carpentry skills; it's about tapping into your creativity and using your hands to bring magic to life. So gather your materials, put on your thinking cap, and get ready to wow your friends and family with your amazing DIY magic boxes!
0 comments:
Post a Comment